
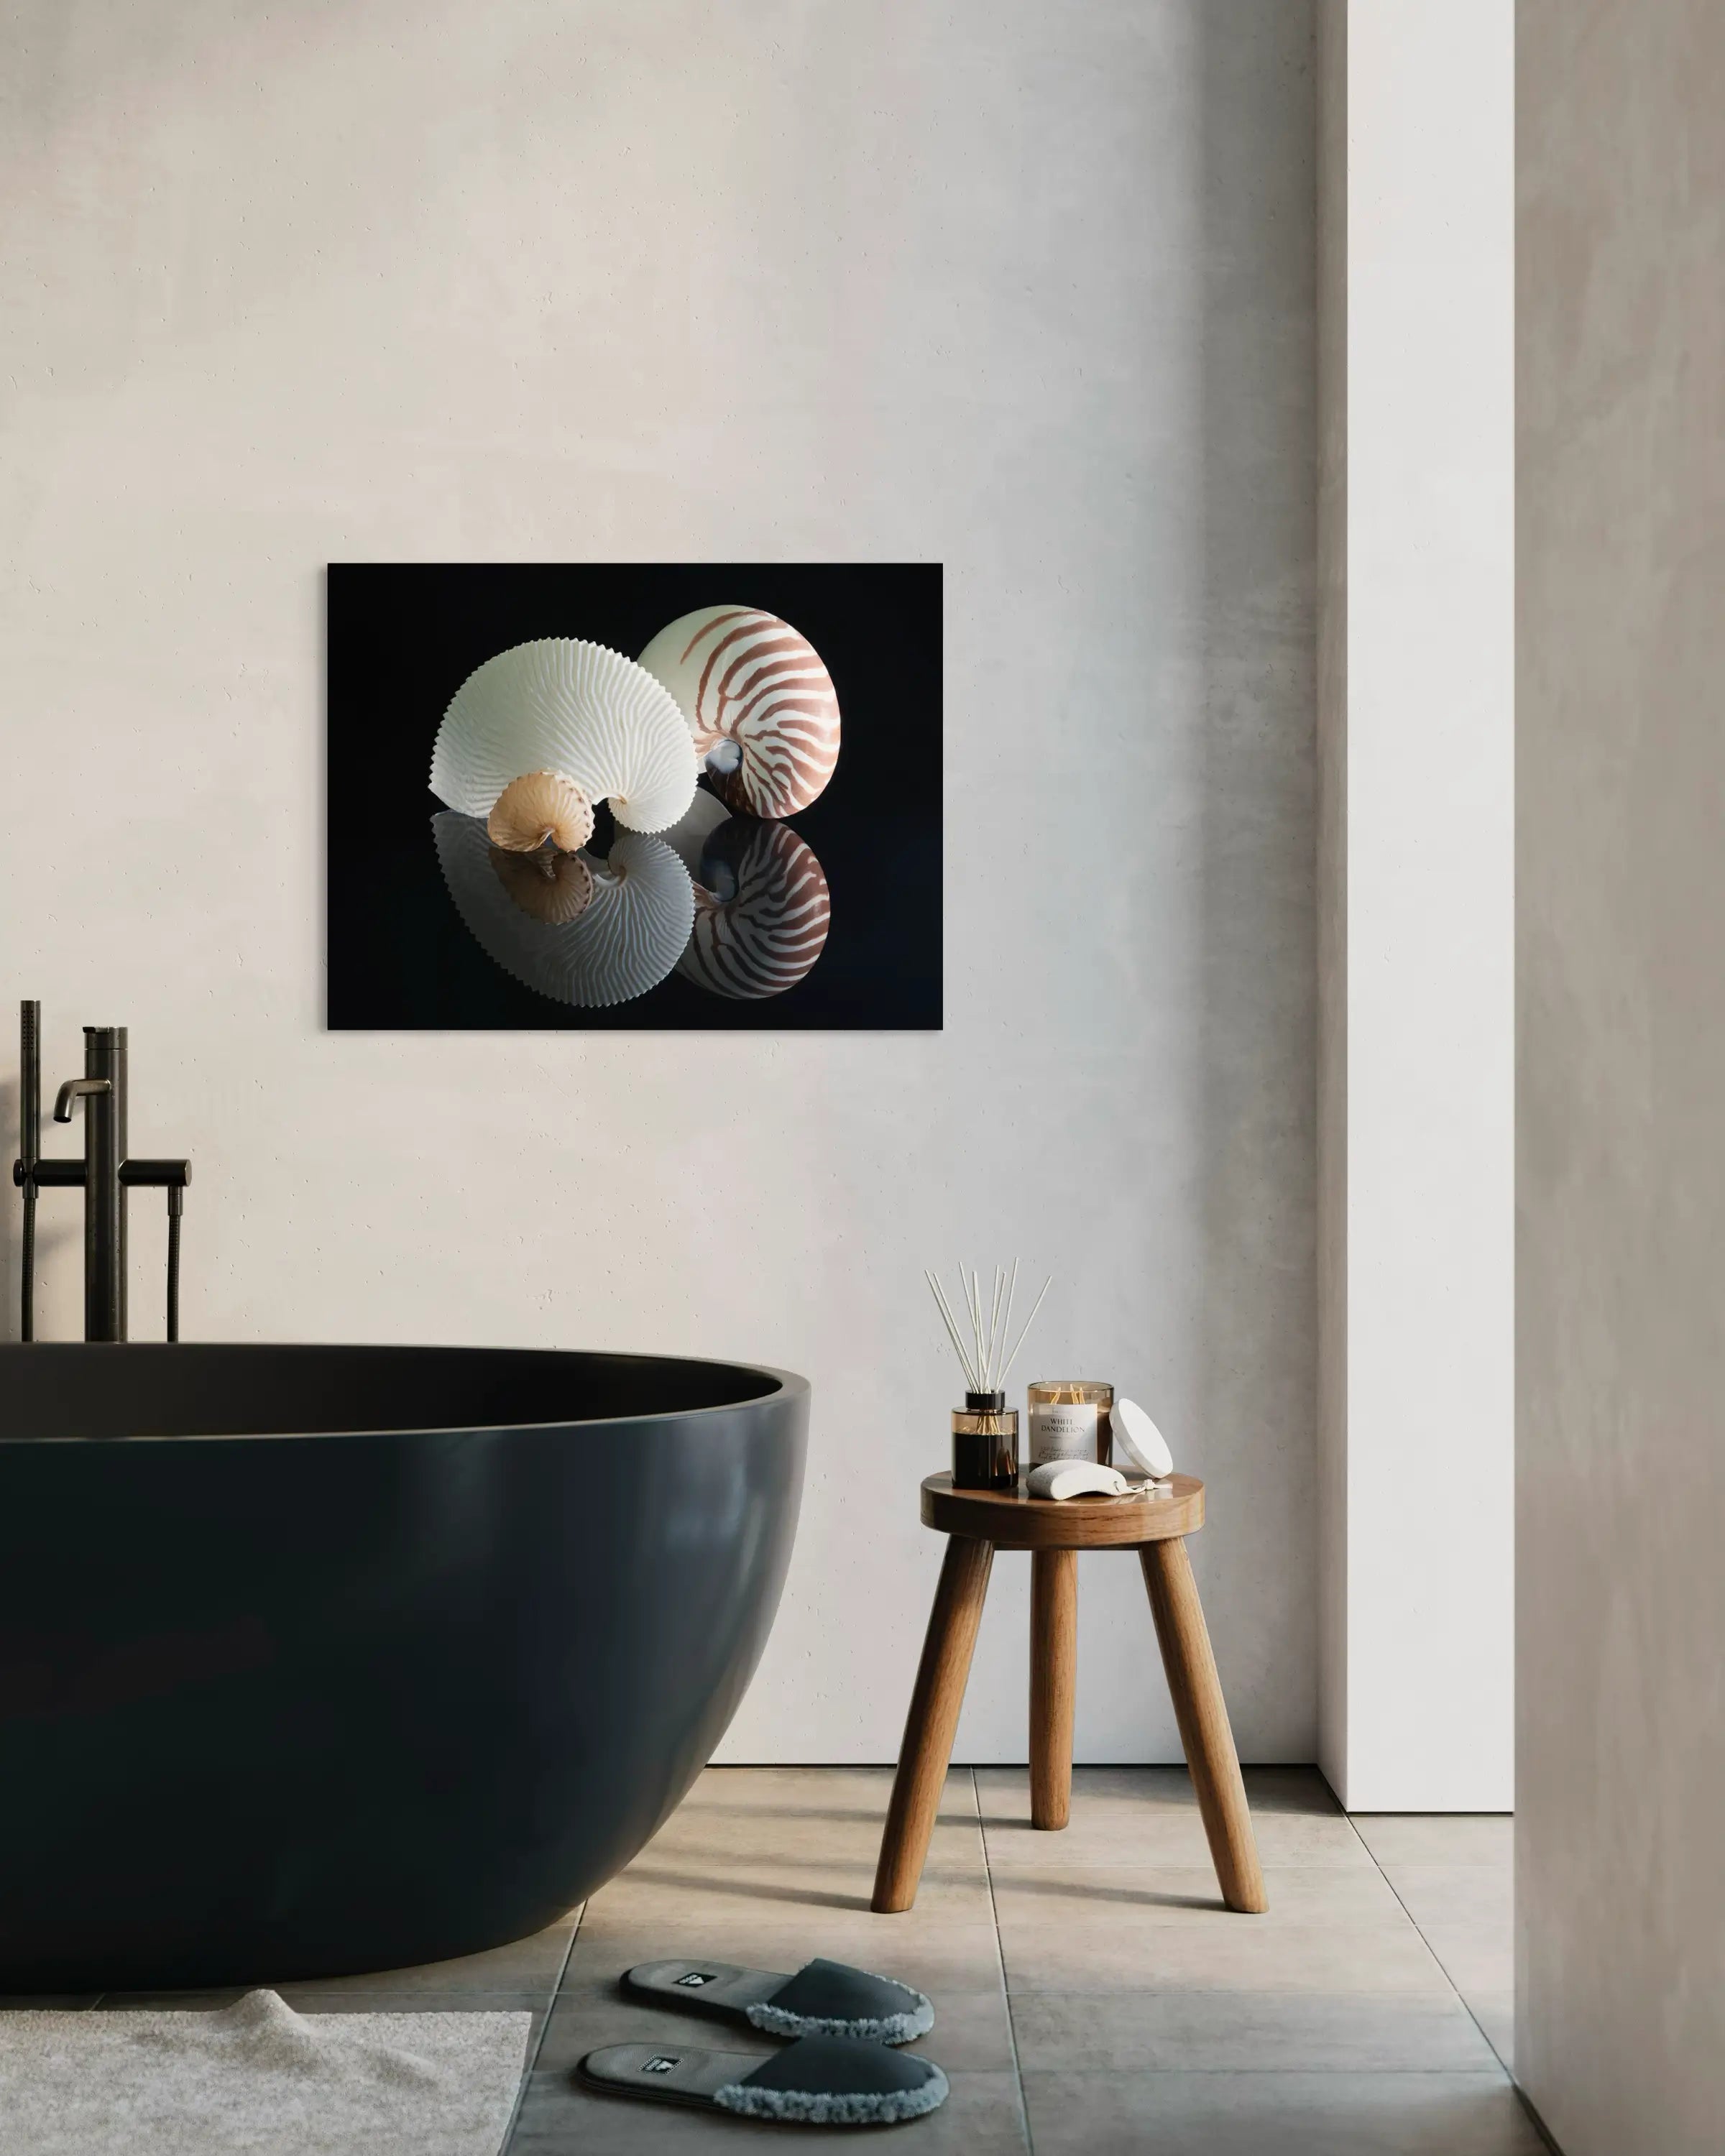
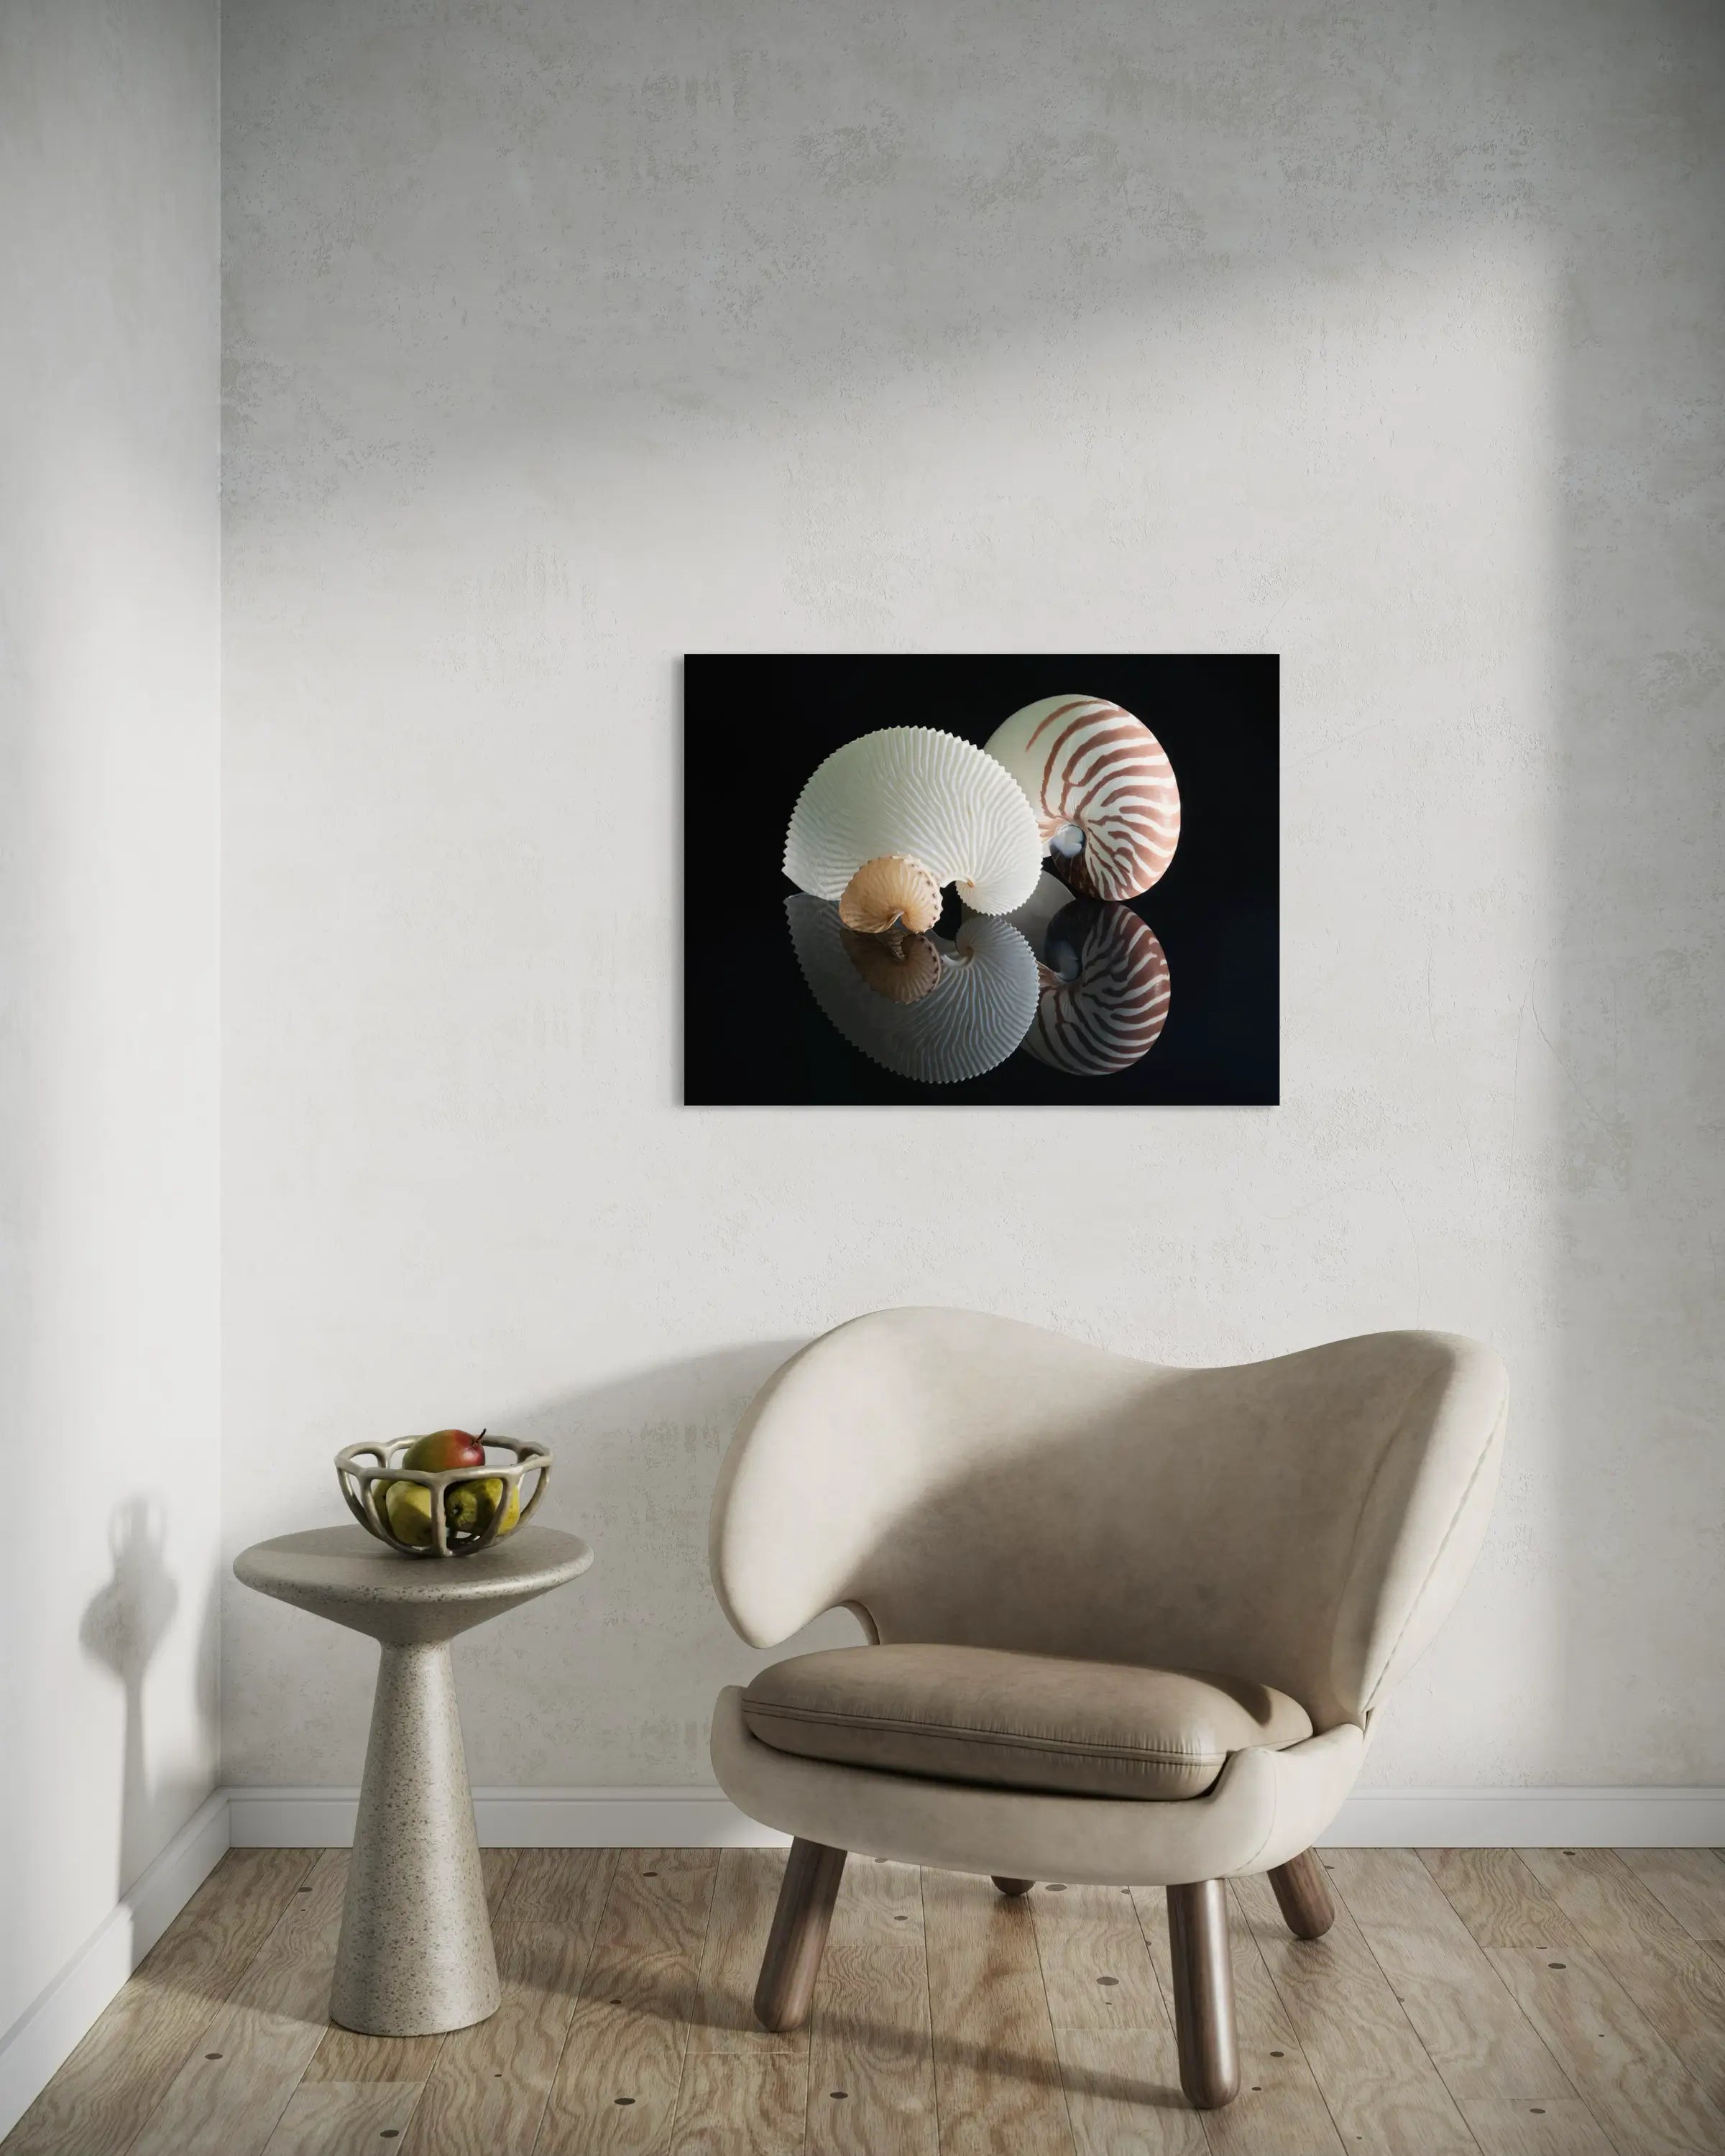

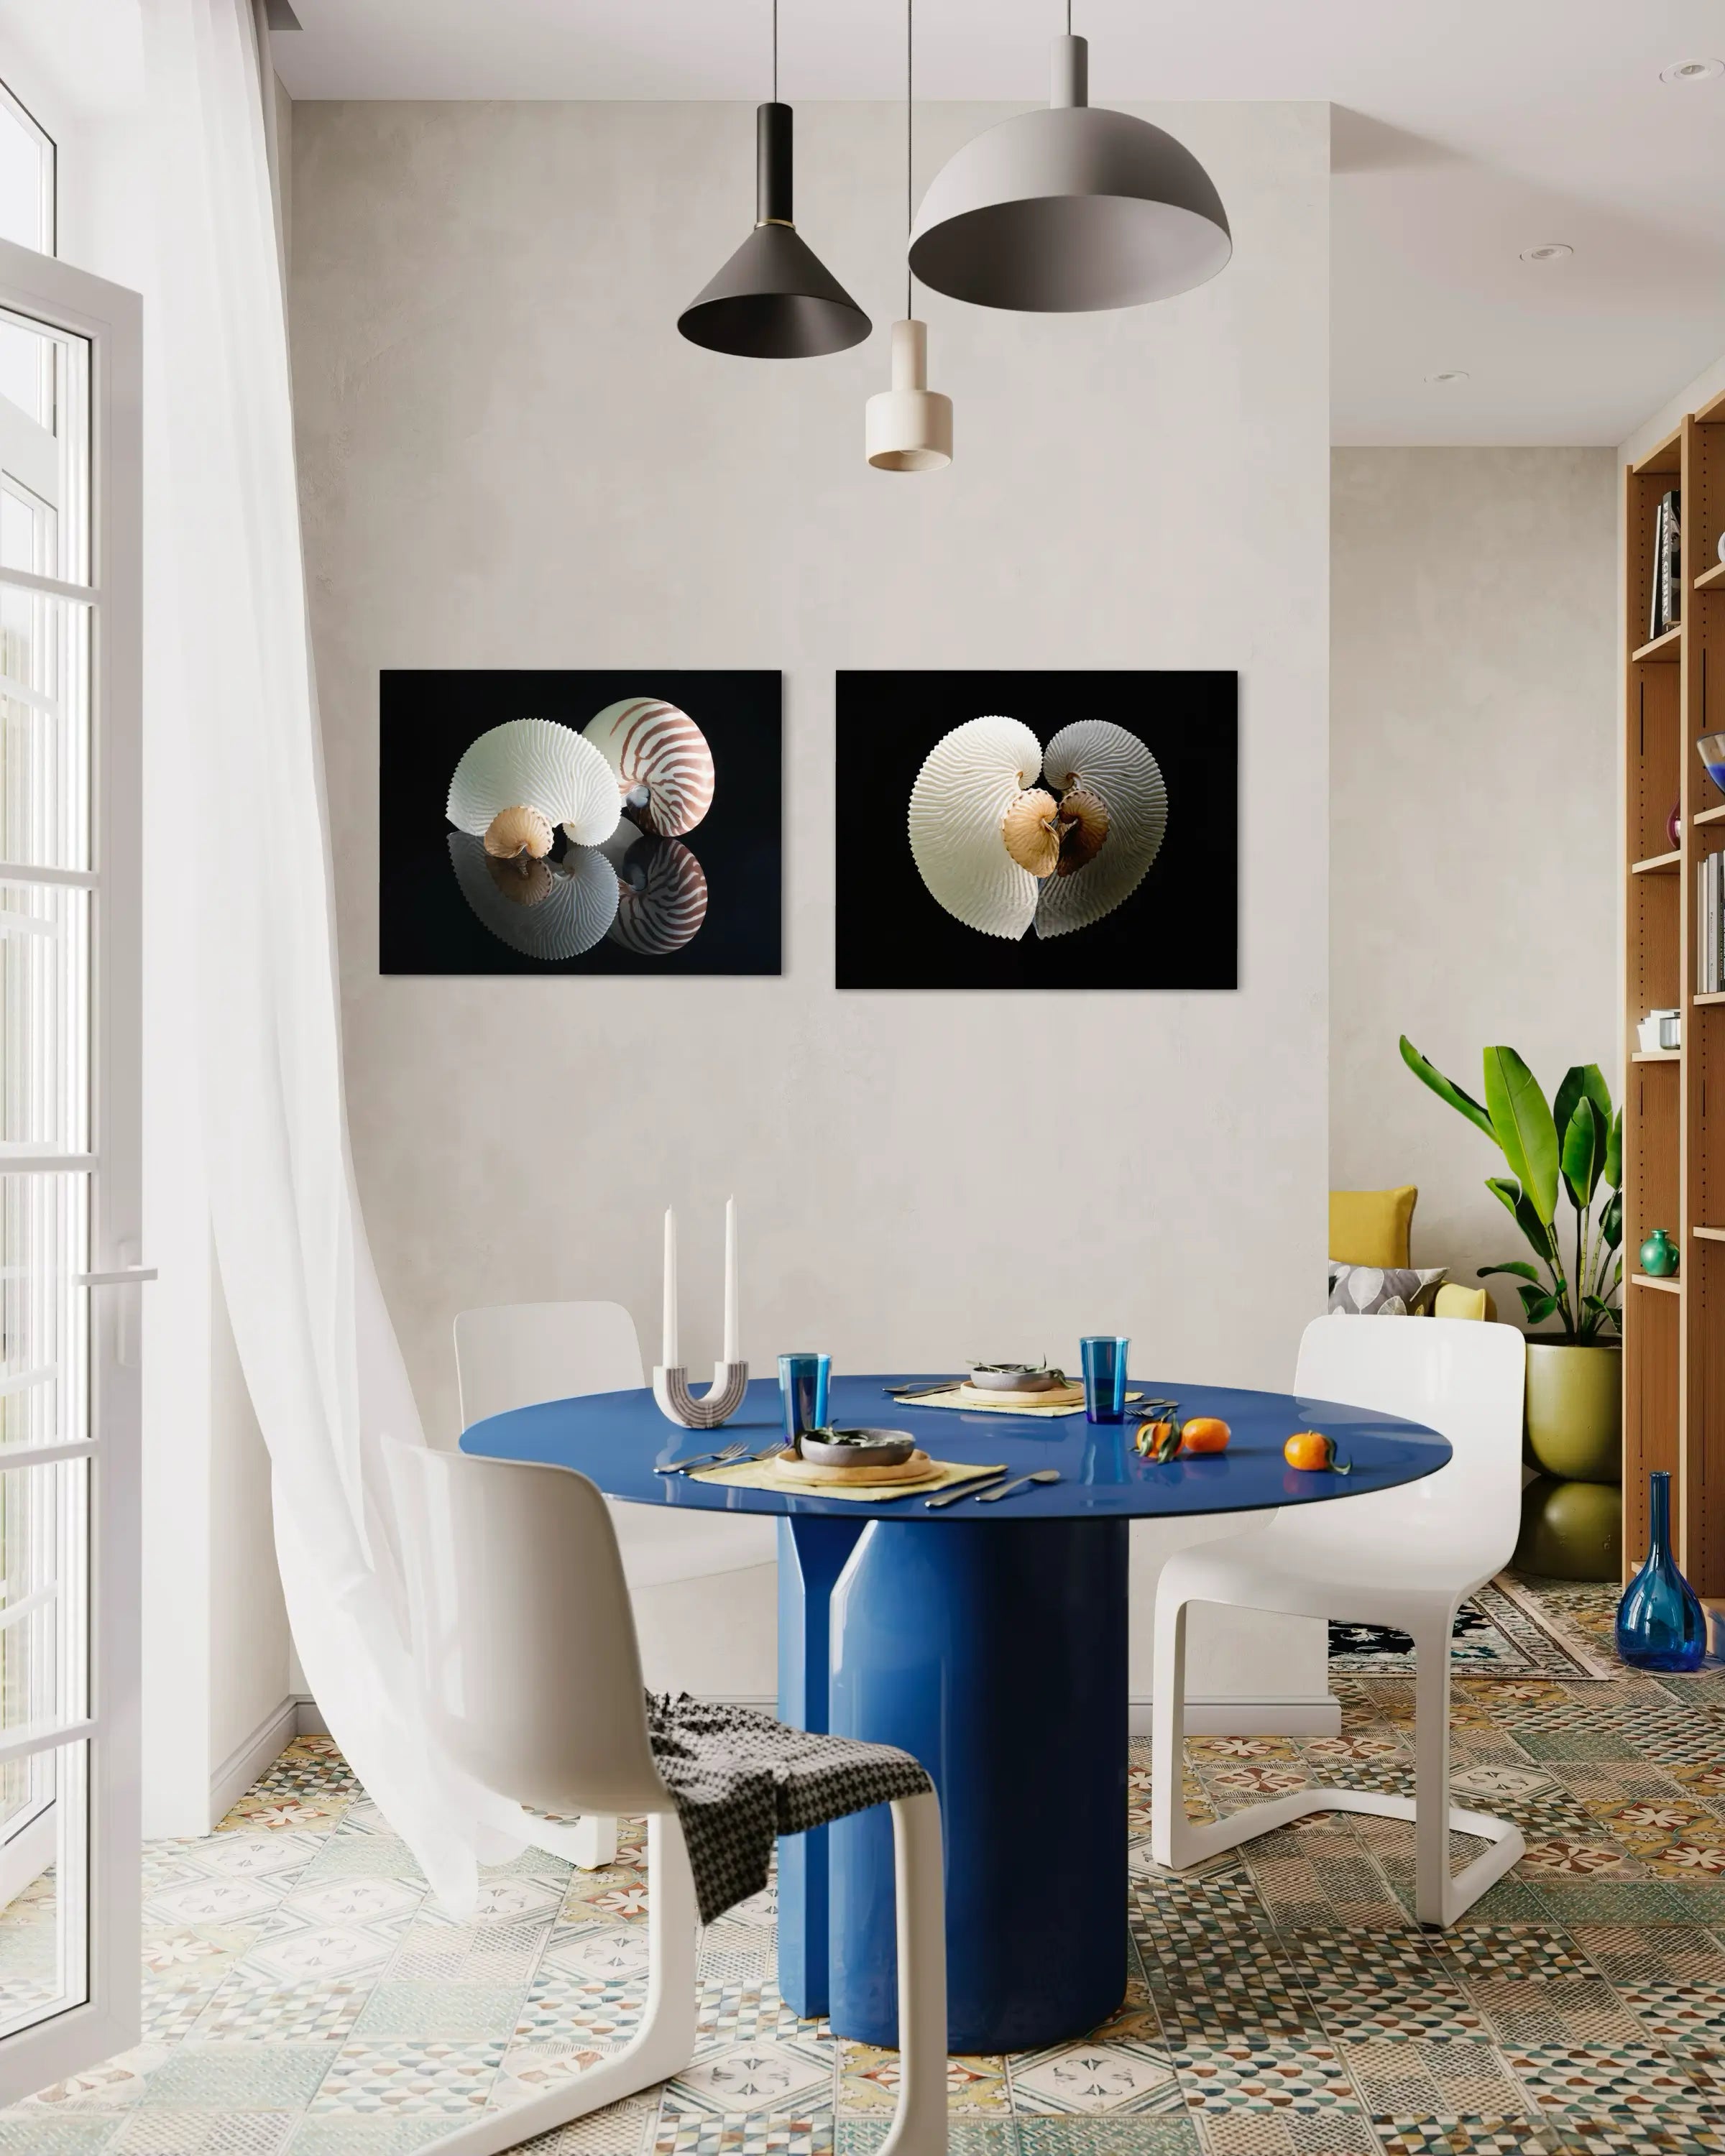
Three Nautilus Shells Coastal Glass Print - Echoes of the Sea
Select a size to see pricing
Size

Choose options
Select a size to see pricing
Size
Select a size to see pricing
Size
Echoes of the Sea: Top Nautilus Coastal Glass Art
Embark on a coastal journey with our Three Nautilus Coastal Glass Print from Echoes of the Sea. This stunning art features a chambered nautilus, a brown paper nautilus, and a white paper nautilus, their intricate spirals glowing against a reflective black background, perfect for coastal wall decor in living rooms or beach houses.
Fun Fact: Only the chambered nautilus is a true nautilus; the brown and white paper nautiluses are actually argonauts, a type of octopus that creates thin, papery shells for their eggs.
Crafted in the USA with UV-resistant, eco-friendly inks, this frameless print ensures lasting vibrancy. Ideal for ocean-themed decor lovers, it’s backed by our 60-day Happiness Guarantee and free shipping. Order now to bring nautical elegance to your space!
Styling & Placement
• Above a sofa in a light-filled living room
• Centered over a bed for a calm, balanced focal point
• In entryways with natural light
• As part of a curated coastal gallery wall
Artwork scale should feel proportional to the space—typically spanning ½–⅔ the width of the furniture beneath it. Larger pieces create a stronger focal point, while smaller groupings offer a more layered, collected look.
Glass reads visually lighter than canvas, allowing for a more substantial presence without feeling heavy.
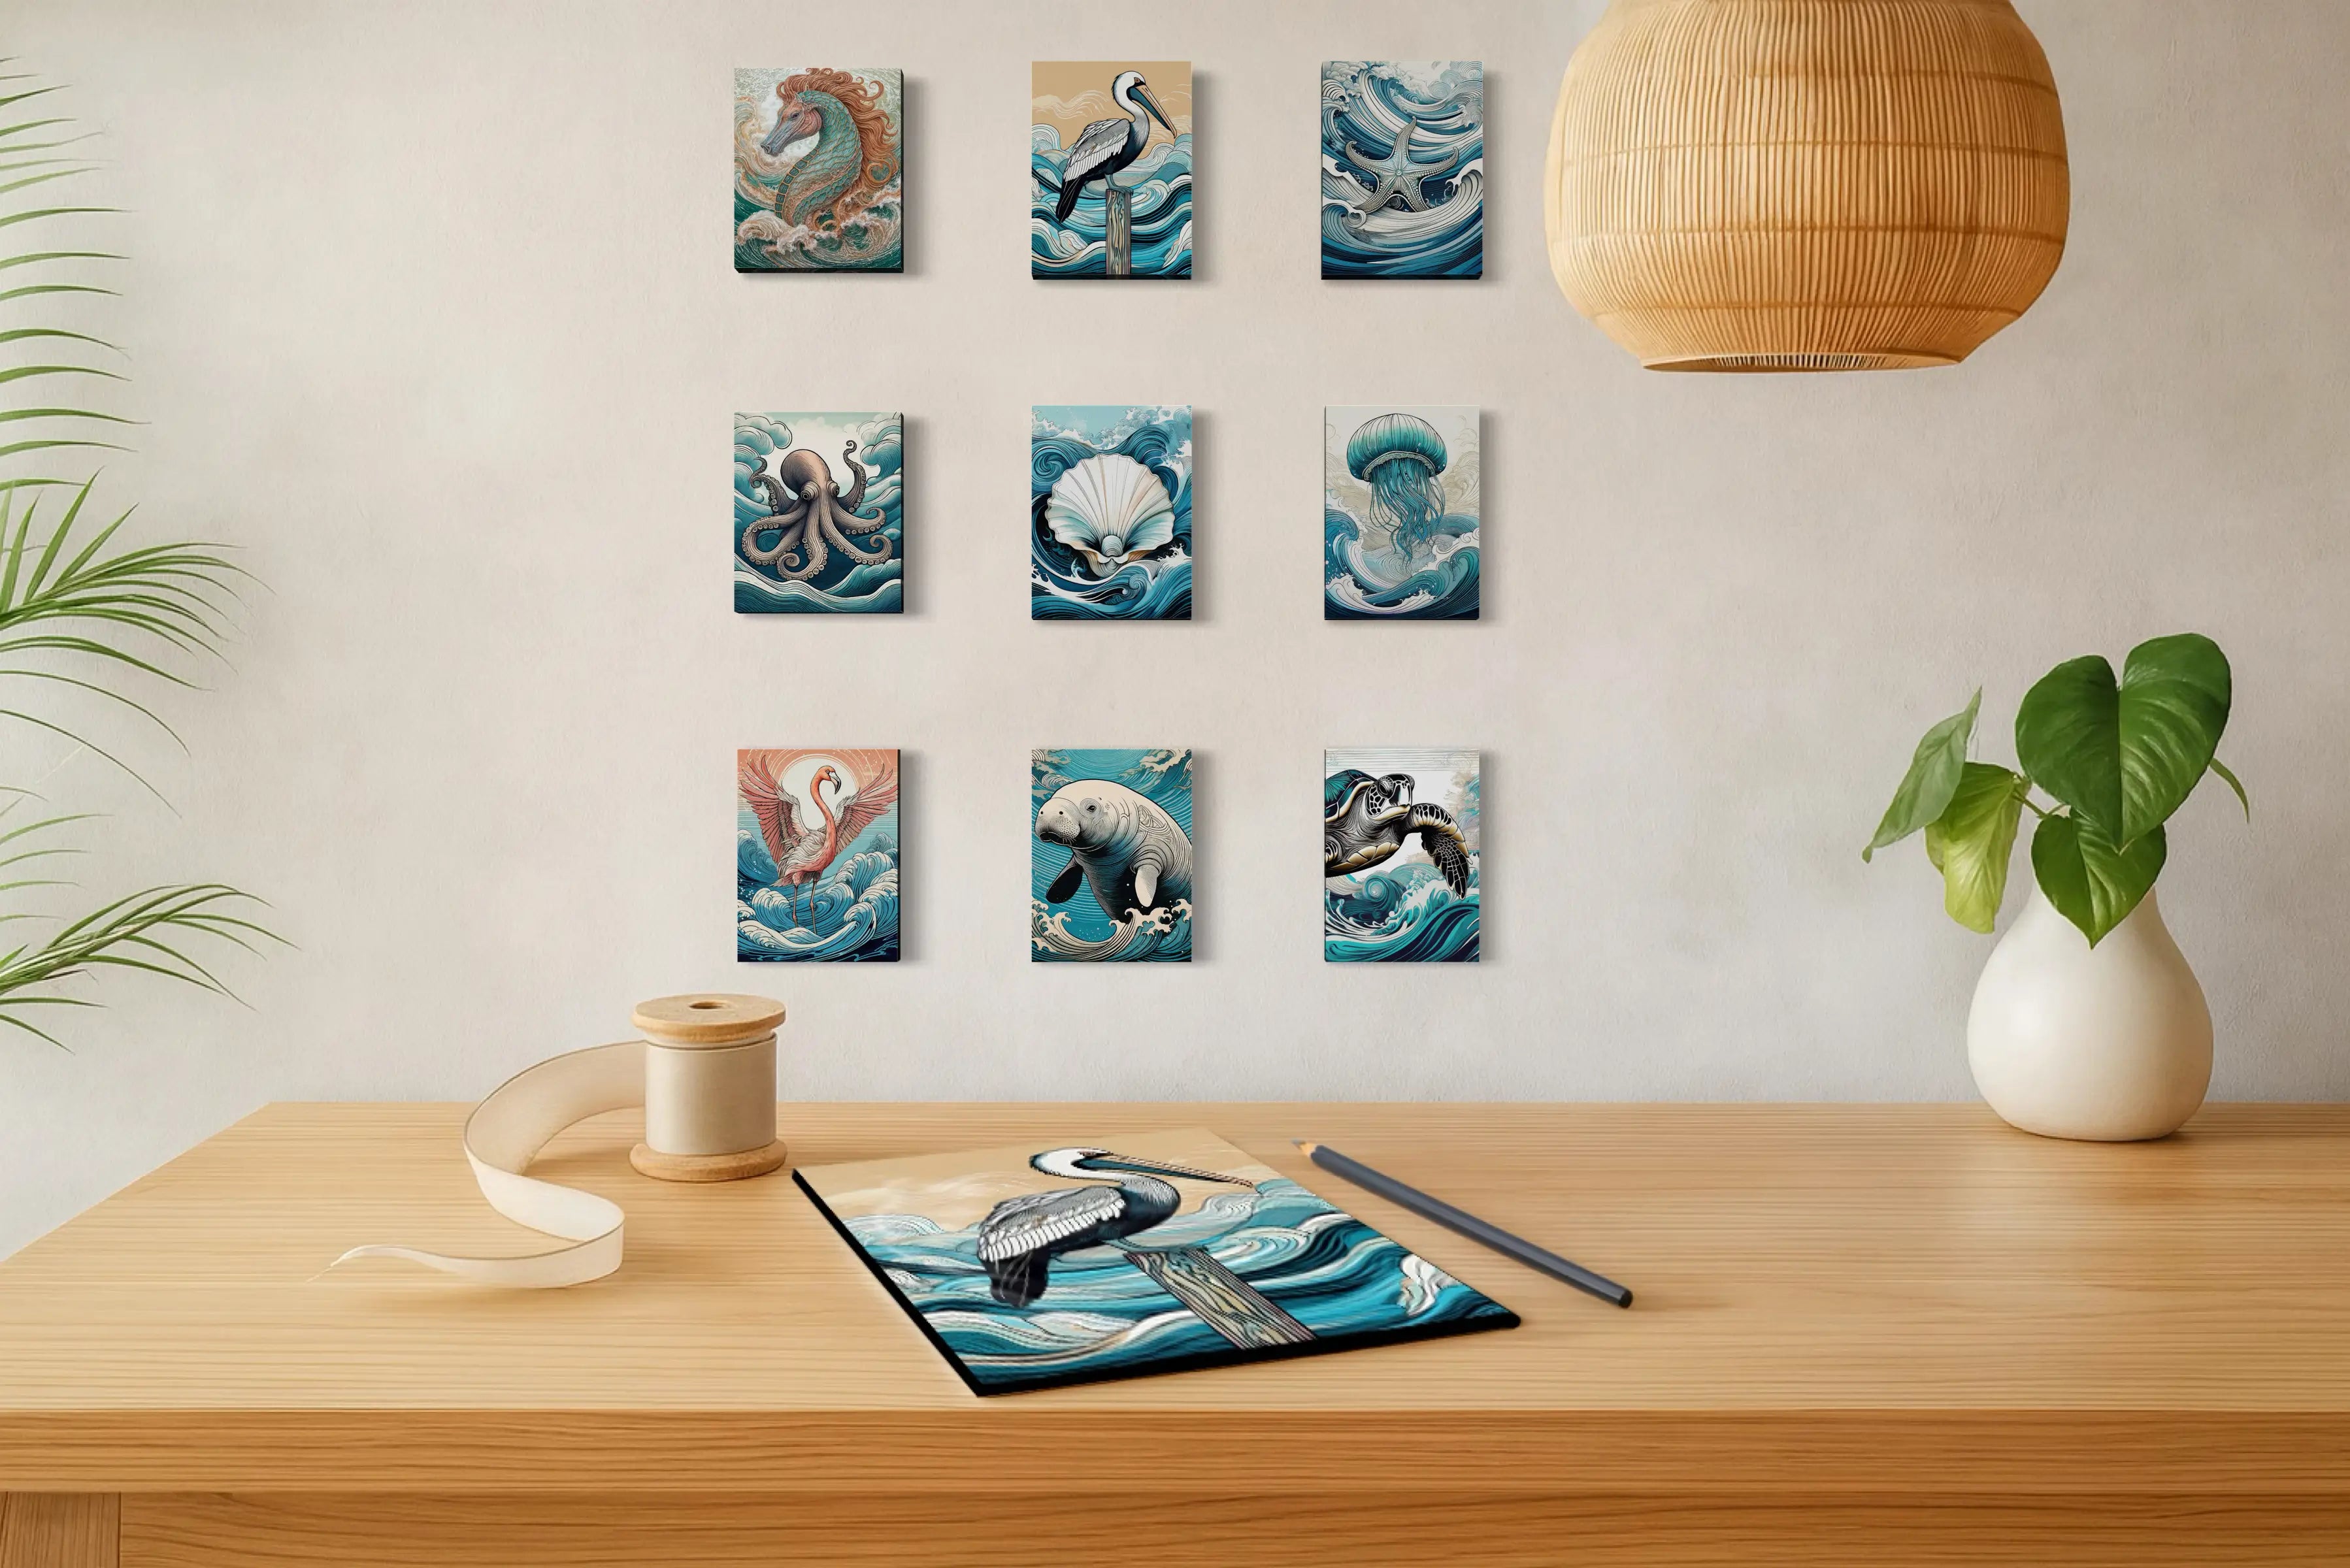
Why Choose Glass Wall Art?
Our coastal wall art is printed directly onto premium glass using UV-cured inks, preserving exceptional clarity, color, and detail.
Unlike canvas or paper prints, glass reflects and interacts with natural light—enhancing the luminous blues, soft neutrals, and coastal tones throughout the day.
The result is a clean, frameless presentation that feels modern, refined, and architecturally integrated into your space.
Glass wall art is ideal for coastal interiors, where light, openness, and subtle reflection create a calm, elevated atmosphere.
This coastal glass wall art offers a modern alternative to canvas prints, combining durability, color clarity, and a light-reflective finish ideal for beach house and coastal home decor.